Adding Locking System Service Addresses
This section describes how to add new locking system service addresses to iLOQ 5 Series Manager.
Proceed as follows.
-
Open iLOQ 5 Series Manager.
The login screen is opened.
Figure 1. Login Screen 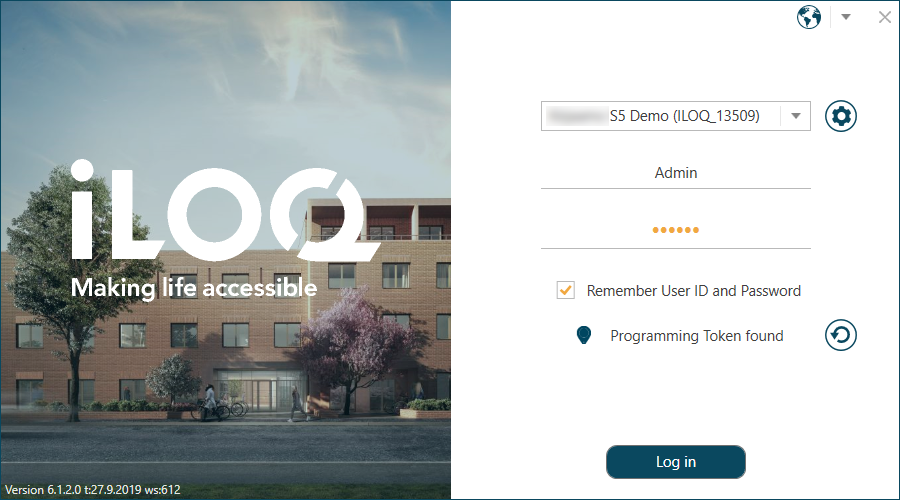
-
Click the settings wheel button.
The login data screen is opened.
Figure 2. Login Data Screen 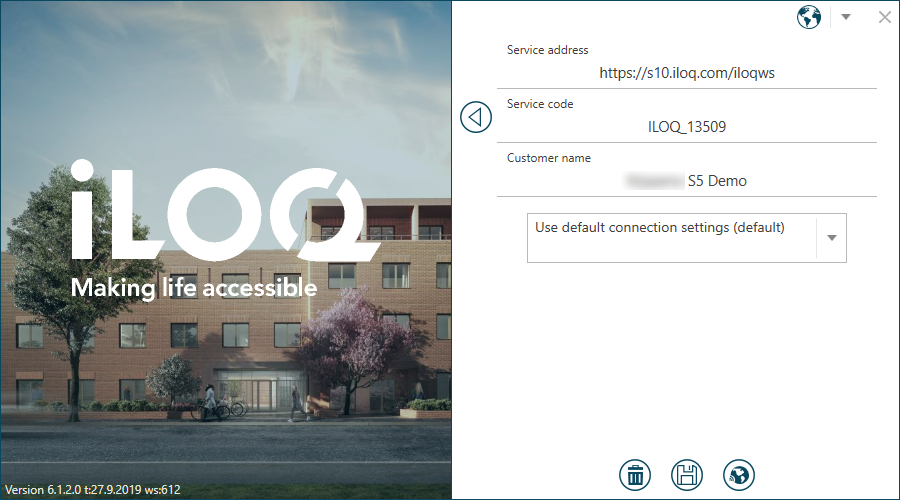
-
Enter locking system information as follows:
- Service address — Enter the locking system database server address, in this field. Ensure that the service address is the same as in the Login data document provided with the locking system.
- Service code — Enter the locking system-specific service code, in this field. Ensure that the service code is the same as in the Login data document provided with the locking system.
- Customer name — Enter the name of the locking system, in this field.
- Test the connection by clicking the Test server connection button.
- If the server connection succeeds, select OK.
-
If the server connection fails, you can attempt to establish the connection by
other means:
-
Select the alternative method from the drop down menu, and fill in the
requested information.
Figure 3. Advanced Connection Settings 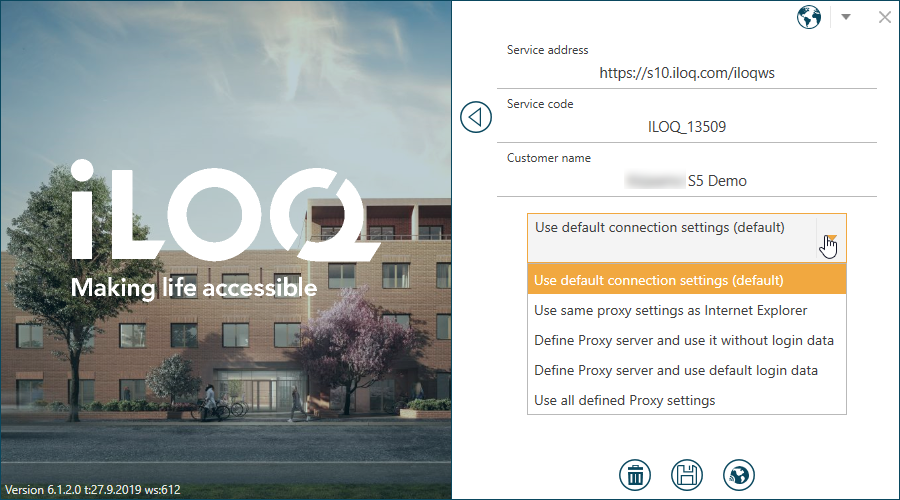
-
Select the alternative method from the drop down menu, and fill in the
requested information.
- If the server connection succeeds, save the selected settings when exiting from the dialog.